Today I have a fun and easy Easter project for you that will for sure be a fun addition to your decor.
This "hello peeps" sign is simple and I am going to show you how you can make it in a matter of hours.

The first thing you will need is a piece of mdf cut to size. Mine is about 9 x 13, but you can do any size you'd like.
Paint it with black paint, or whatever color you'd like the lettering to be in the end.
Any type/sheen paint is fine.
Let dry.

At office supply stores, sometimes hardware stores, you can find these letter stickers.
Find and cut out the letters that spell out your saying,
"hello peeps"

Place them on your dry black piece of wood.
I used a pencil to mark out lines to ensure the lettering was straight.
Push them down really well.

Using any kind of white paint
{or whatever color you want your sign to be allover}
put light coats on, letting dry between coats.

When it is completely dry, gently peel off the letters. You might need to use an exacto knife to lift the letters.

Now you can lightly sand it and distress it.
Time to make the frame. You will need a 1x2. Cut the 1x2 into 4 pieces, each end being cut on a 45 degree angle.
Attach with wood glue and let dry.

Now it is time to stain the frame, or you can leave it as is if you like the raw wood look.
If you do stain or paint it, tape off your sign.

I used this "sunbleached" color and simply applied it with a paper towel.

That is it! I have mine on our front porch so people will see it when they walk up the stairs.


If you'd miss the post on how I aged the pots here, you can read all about it here.
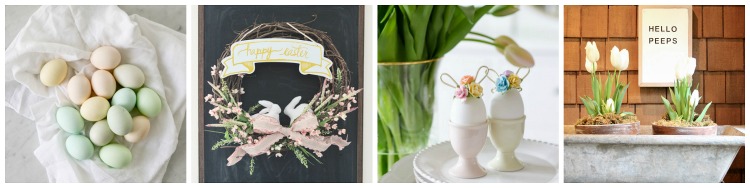 How To Dye Eggs With Food Coloring by TIDBITS | Easter Wreath by Shades of Blue Interiors | Easter Egg Decorating Idea - Mini Floral Bunny Ears by A Burst of Beautiful | DIY Easter Sign - Hello Peeps by My Sweet Savannah
 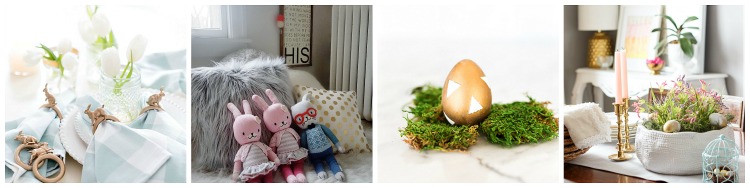 DIY Bunny Napkin Rings by Craftberry Bush | A Kindred Easter with Kindred Vintage & Co. | DIY Metallic Easter Eggs with Maison de Pax | Spring Garden DIY Easter Centerpiece by Elliven Studio
 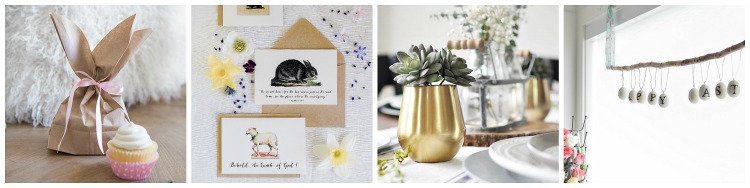 Bunny Ears Bags and Free Printable by Ella Claire | Free Printable Easter Cards by Boxwood Avenue | Simple Modern Easter Tablescape by Cherished Bliss | DIY Vintage 'Happy Easter' Eggs by So Much Better With Age
 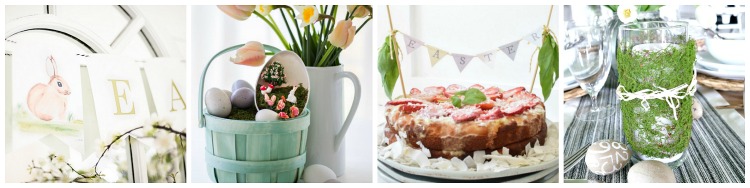 Printable Watercolor Easter Banner by Nina Hendrick Design Co. | DIY Bunny Garden Easter Basket by Zevy Joy | Easter Cake - Paleo Coconut Pineapple Cake with Topper by Nesting With Grace | Moss Wrapped Candle by Design, Dining and Diapers
 xoxo
from
http://www.mysweetsavannahblog.com/2017/04/diy-easter-sign-hello-peeps.html


No comments:
Post a Comment